Showing posts with label cooking class. Show all posts

Thursday, August 11, 2011

Vanilla Bean Workshop and Cooking Class with Cashmere Bites

Vanilla Bean Workshop and Cooking Class with Cashmere Bites

Although I'm more of a restaurant diner than a home cook, every once in awhile, I like to mix it up with a cooking class and that's exactly what I did at the Cashmere Bites Cooking Class. The theme revolved around cooking with vanilla beans, but before any cooking actually happened, we were treated to a Vanilla Bean Workshop with Glenn Gottlieb, President of the Amadeus Trading Company.

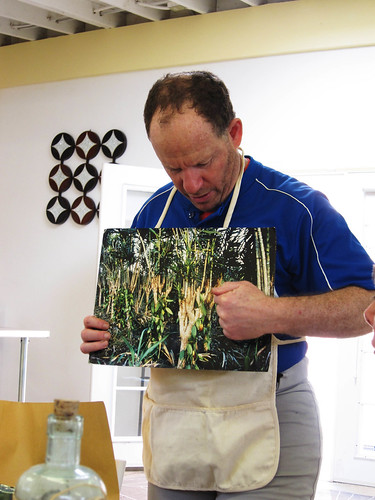
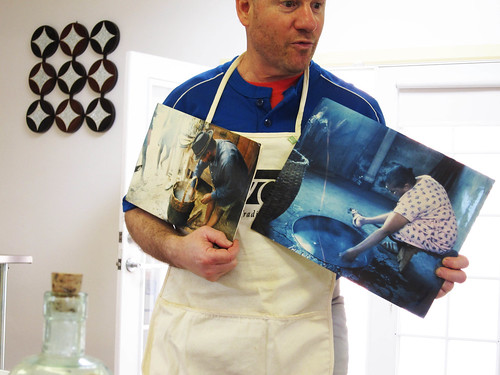
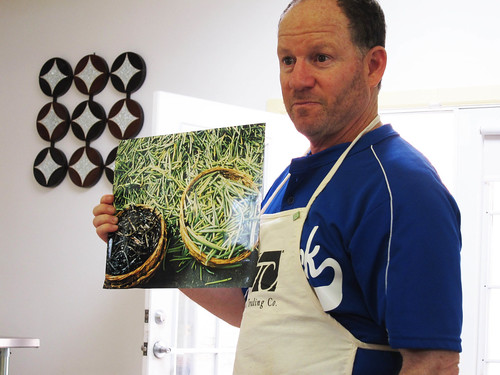
In this workshop, Glenn gave a talk about how the vanilla bean is grown and cultivated and highlighted it with photos. The first thing he mentioned is that vanilla beans grow from vines that are wrapped around tree trunks until they hang down so that they can replant themselves in the soil.

More ...

Vanilla Bean Workshop and Cooking Class with Cashmere Bites

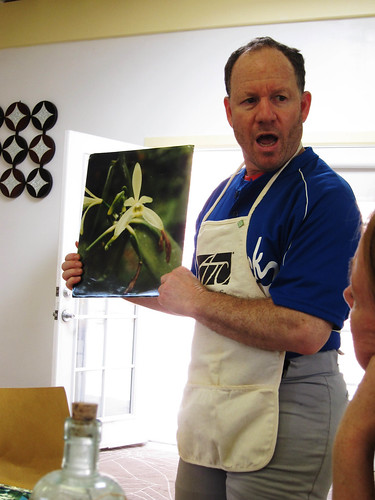
From these vines grow Vanilla Orchids. The vanilla orchids only have a one month flowering period, but will only survive for a few hours, possibly up to a day after they have been hand pollinated. However, within 24 hours of being pollinated, the pods start to come into existence.

Vanilla Bean Workshop and Cooking Class with Cashmere Bites

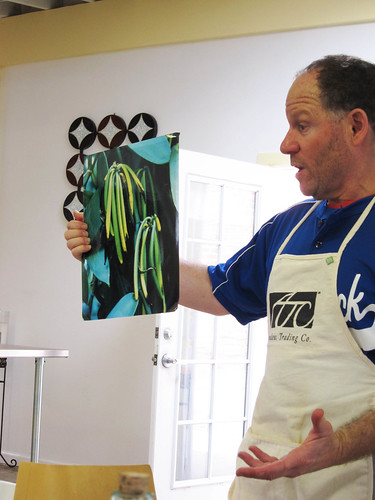
The pods eventually take on the shape of long beans and will usually be harvested between 6 months to a 1 year.

Vanilla Bean Workshop and Cooking Class with Cashmere Bites

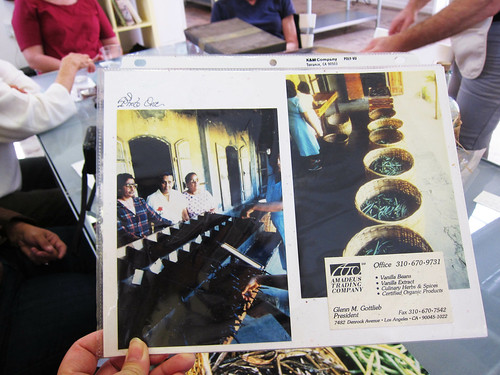
Vanilla Beans are very susceptible to attracting mold and rotting during the sun drying and curing process. To combat this problem, prior to curing, the ripe green beans are blanched in hot water, (not boiling), for several minutes at 140° - 150F° (60° - 65°C). This process terminates any further organic change, keeps the bean from splitting open and from rotting during the curing process. The importance of the correct blanching time is crucial as to how the flavor and color of the bean will evolve.

Vanilla Bean Workshop and Cooking Class with Cashmere Bites

After Blanching, comes the Sweating. The treated beans are then transferred immediately to a wooden box lined with blanket, for sweating and kept for 36-48 hours. The temperature initially is to be 48-50°C. By then, the beans will attain light brown colour and start imparting aroma.

From Sweating comes Sun Drying. Later on, the beans are spread in hot sun (from 12 noon to 3 pm) over wooden loft on a clean black blanket. The temperature of the bean, at this time should raise to 50°C. Later on, the bundles are transferred to the sweating box. Sun drying and sweating is continued grade-wise, as follows, for up to 14 days.

Vanilla Bean Workshop and Cooking Class with Cashmere Bites

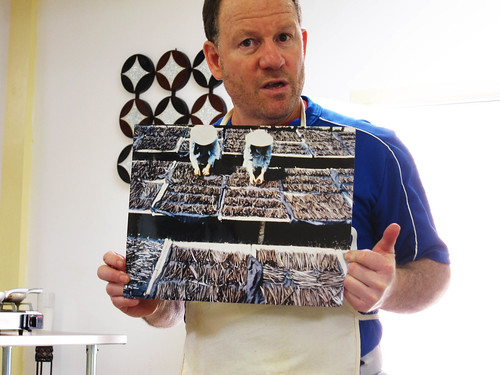
The next step called the Slow Drying Process involves the spreading of the beans in racks that are kept in a well-ventilated room and maintained a temperature of around 35°C and a relative humidity of 70 per cent. The duration of this slow drying process can take up to 30 days.

Vanilla Bean Workshop and Cooking Class with Cashmere Bites

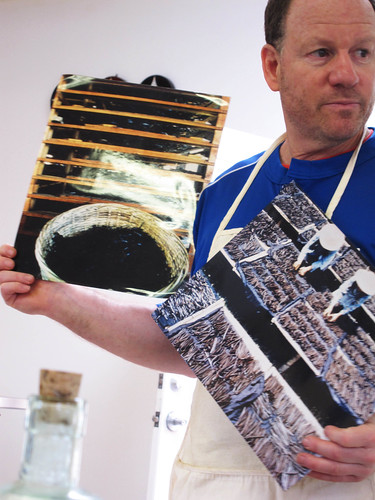
Following the Slow Drying Process comes the Conditioning Process. The dried and classified beans are bundled (150 - 250 gm each), tied with a thread and kept for conditioning inside wooden or metal boxes lined with wax paper for two months. By this time, there is a further loss of three to four per cent moisture with the full development of fragrance. Finally, the bundles are wrapped in wax papers and stored in airtight containers. The reduction in weight from green to conditioned beans ranges from 4.5:1 to 6:1, depending on the grade.

Vanilla Bean Workshop and Cooking Class with Cashmere Bites

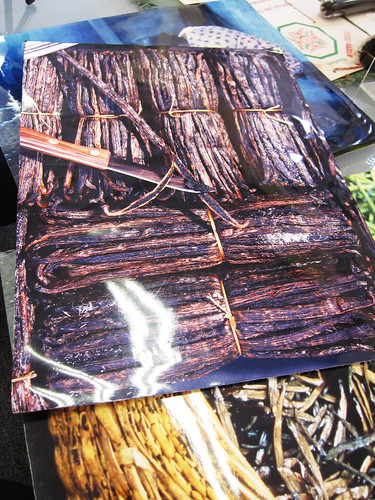
It takes about 7 kilos of the "green beans" to make 1 kilo of dried vanilla pods. A process that takes 6 to 9 months.

Vanilla Bean Workshop and Cooking Class with Cashmere Bites

When the curing process is complete, the farmers will sort the beans according to grade (A, B or C) and length (smalls, regulars, longs & premium). Therefore, within each grade quality category there will be up to four length categories. After all this, these pods will eventually make their way into kitchens all over the world.

Vanilla Bean Workshop and Cooking Class with Cashmere Bites

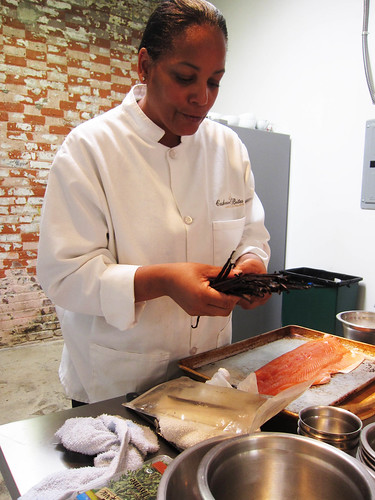
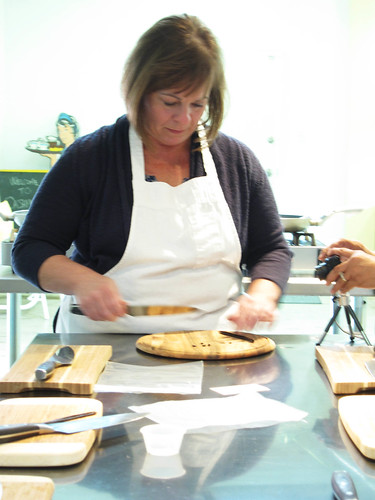
Now that we learned a little more about the vanilla bean, it was time to cook with them and it was the job of Chef Tracey Augustine, owner of Cashmere Bites, to give our class instruction on how to retrieve the vanilla beans from the pod.

Vanilla Bean Workshop and Cooking Class with Cashmere Bites

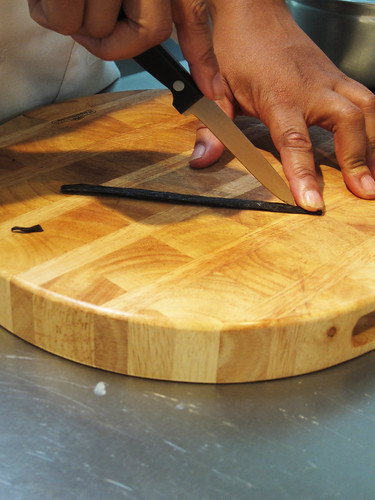
The first step is lay your vanilla pod on a cutting board and get a sharp knife.

Vanilla Bean Workshop and Cooking Class with Cashmere Bites

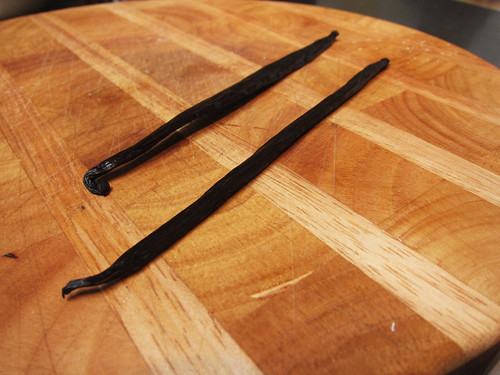
Next, cut the tips from each end of the pod.

Vanilla Bean Workshop and Cooking Class with Cashmere Bites

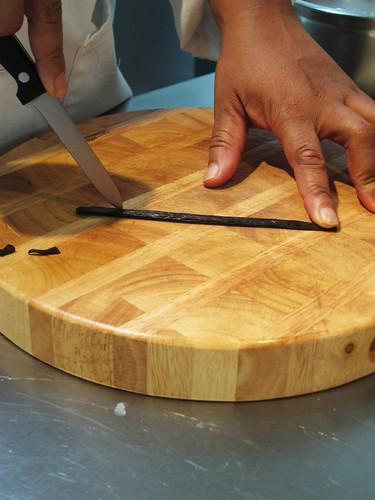
Use your sharp knife to cut lengthwise through the middle without cutting vanilla bean completely in half.

Vanilla Bean Workshop and Cooking Class with Cashmere Bites

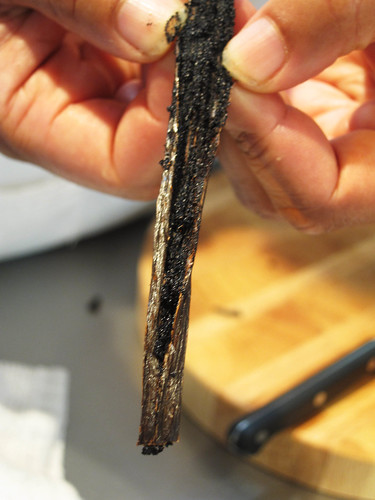
Open the vanilla pod up.

Vanilla Bean Workshop and Cooking Class with Cashmere Bites


Scrape the vanilla beans out of the pod and voila, the beans are ready to use.

Vanilla Bean Workshop and Cooking Class with Cashmere Bites

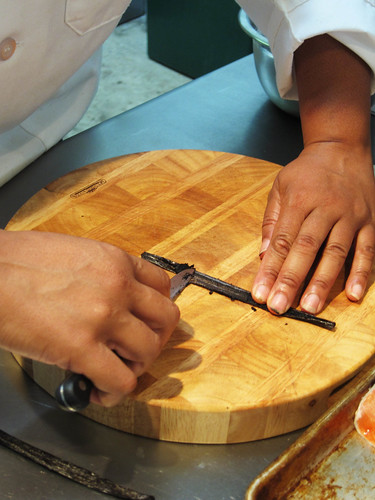
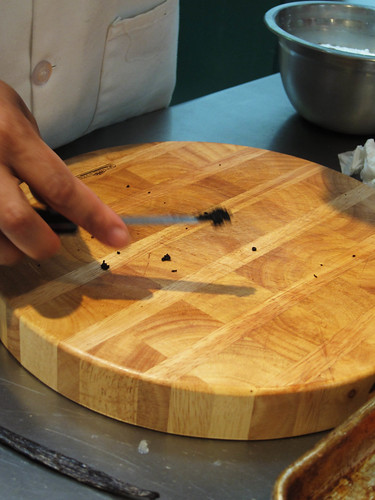
Then some of us tried our hand at it.

Vanilla Bean Workshop and Cooking Class with Cashmere Bites

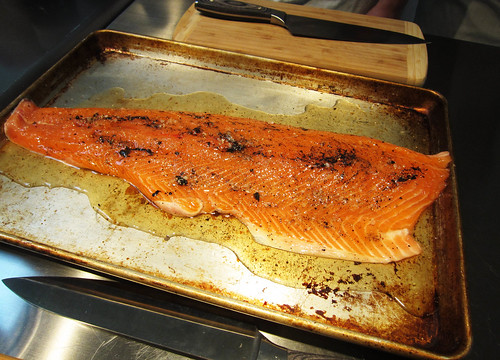
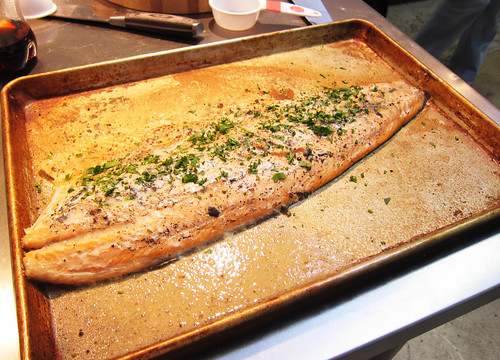
The first thing we did with those beans was to add some to the Vanilla and Bourbon Scented Salmon and then popped it in the oven.

Vanilla Bean Workshop and Cooking Class with Cashmere Bites

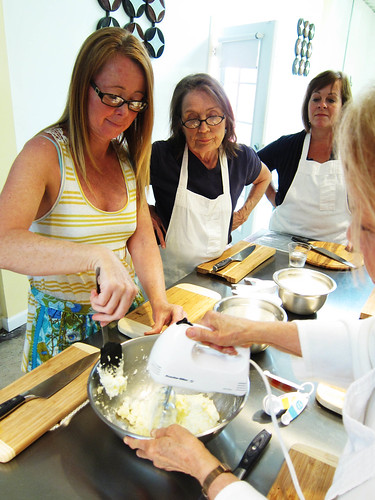
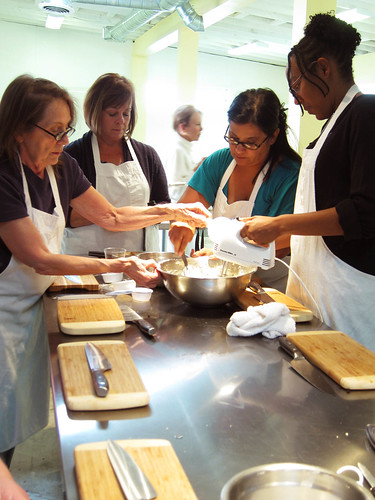
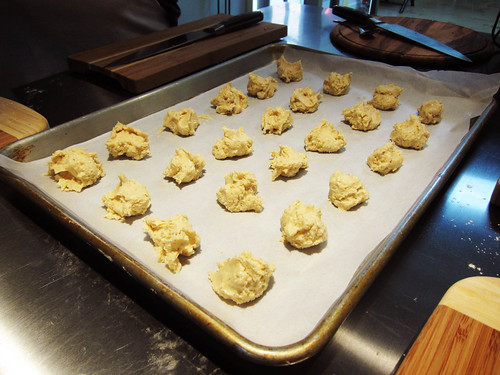
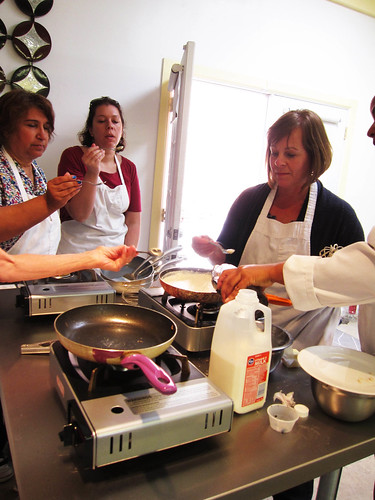
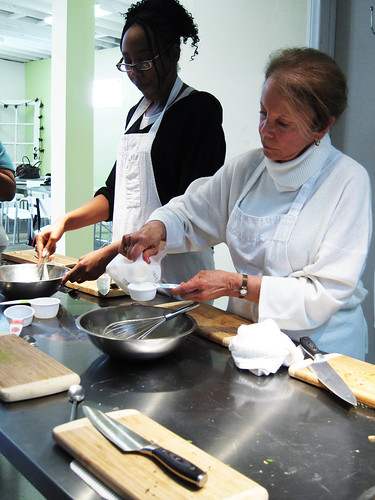
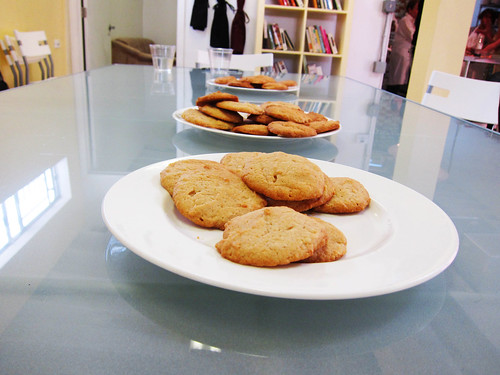
While the salmon was cooking, our next job was to make the batter for the Vanilla Malted Milk Cookies. As you can see, we were all hard at work.

Vanilla Bean Workshop and Cooking Class with Cashmere Bites

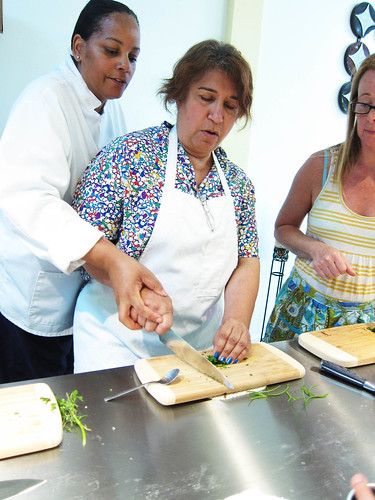
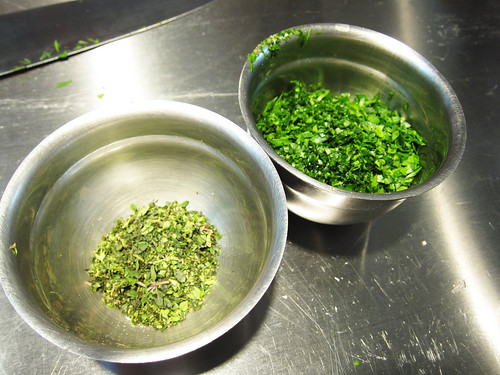
Once the cookies made it into the oven, Chef Tracy showed us one way to chop herbs and veggies, which involved doing wave-like motions with your hand.

Vanilla Bean Workshop and Cooking Class with Cashmere Bites

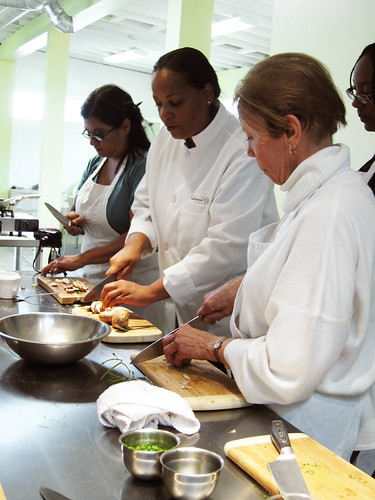
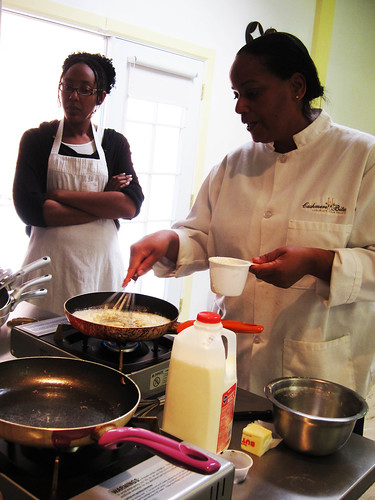
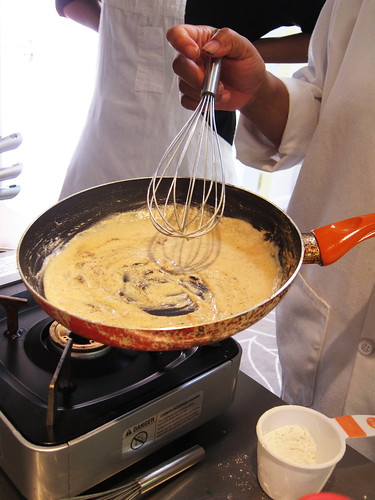
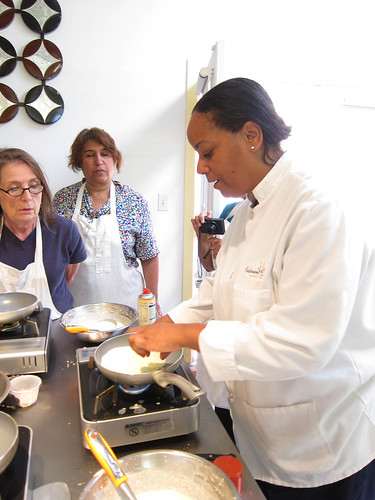
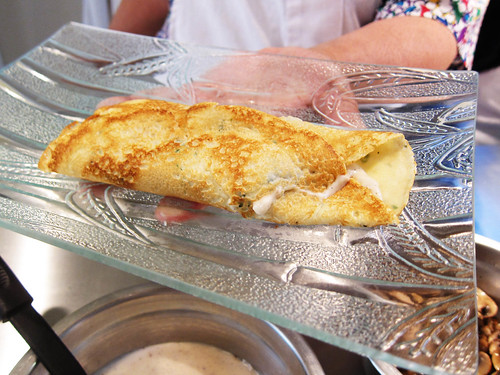
From veggie chopping, Chef Tracey did a Vanilla Bechamel Sauce Making Demonstration, which was going to be for the Chicken and Mushroom Crepes.

Vanilla Bean Workshop and Cooking Class with Cashmere Bites

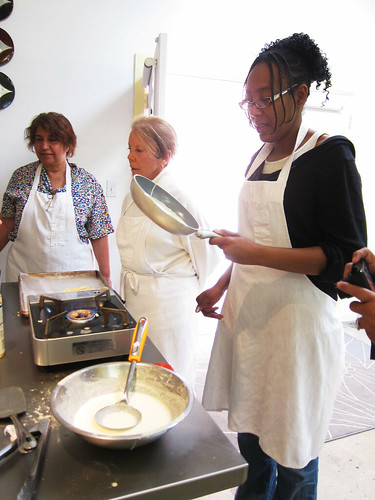
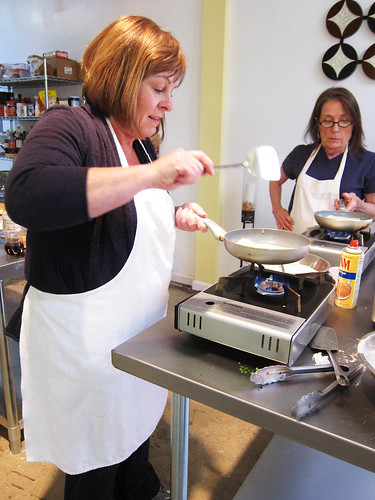
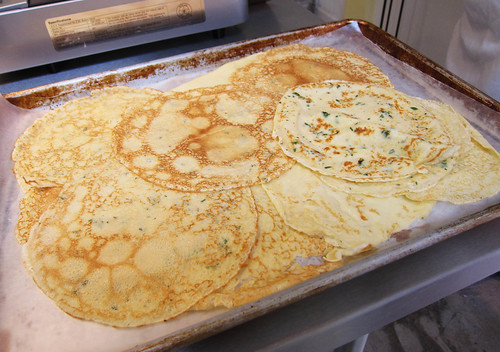
Once the sauce was ready, our class also learned to make crepes.

Vanilla Bean Workshop and Cooking Class with Cashmere Bites

After all was said and done, we got to sit down and eat the fruits of our labor for a fun and casual lunch.

Vanilla Bean Workshop and Cooking Class with Cashmere Bites

Overall, this was a really fun class. The Vanilla Bean Workshop was really informative and I certainly learned more about the Vanilla Bean than I ever thought I would. Then to follow the workshop with a cooking class that allowed us to see different ways to use vanilla beans just rounded up the whole experience. 

One thing to note is that most of Chef Tracey's cooking classes aren't preceded with a food workshop. This Vanilla Bean Workshop and Cooking Class was a special event that she did previously and I asked her if she'd consider doing it as a private event for my dining group and she was happy to do it.

A few days later, Chef Tracey emailed the recipes to all the students, so look for them right after the contact info for Cashmere Bites.

Cashmere Bites
2611 Brighton Ave
Los Angeles, CA 90018
(323) 842-2470

Vanilla and Bourbon Scented Salmon

2 Salmon Filets
1 Vanilla Bean (split and scraped)
1 tsp. vanilla extract
1/4 C. Bourbon
Salt and pepper to taste

Pour the bourbon and vanilla extract on the filets and then rub in the vanilla beans. Place on a parchment lined cookie sheet and bake in 375 degree oven for approx. 12-15 minutes.

Crepes with Chicken, Mushrooms and Vanilla Bechamel Sauce

Crepes:
  • 1 cup all-purpose flour
  • 2 eggs
  • 1/2 cup milk
  • 1/2 cup water
  • 1/4 teaspoon salt
  • 2 tablespoons butter, melted
In a large mixing bowl, whisk together the flour and the eggs. Gradually add in the milk and water, stirring to combine. Add the salt and butter; beat until smooth. Heat a lightly oiled griddle or frying pan over medium high heat. Pour or scoop the batter onto the griddle, using approximately 1/4 cup for each crepe. Tilt the pan with a circular motion so that the batter coats the surface evenly. Cook the crepe for about 2 minutes, until the bottom is light brown. Loosen with a spatula, turn and cook the other side. Serve hot.

Chicken and Mushrooms:

Poach 2-3 chicken breasts in salted water on low heat until cooked. Slice one pound of assorted mushrooms and saute in butter until tender. Drain liquid out.

Bechamel Sauce:
  • 6 tablespoons butter
  • 1/4 cup all-purpose flour
  • 1 quart milk
  • 1 teaspoon salt and white pepper
  • 1 vanilla bean, scraped
  • 1 tsp. vanilla extract
Make a roux. Melt butter in a large saucepan over medium heat. Once melted, stir in the flour until smooth. Continue stirring as the flour cooks to a light, golden, sandy color, about 7 minutes. Increase heat to medium-high and slowly whisk in milk until thickened by the roux. Bring to a gentle simmer, add vanilla then reduce heat to a medium-low and continue simmering until the flour has softened and not longer tastes gritty, 10 to 20 minutes, then season with salt and pepper.

Vanilla Malted Milk Cookies
  • 2 3/4 cups all-purpose flour
  • 1/2 cup plain malted-milk powder
  • 1 teaspoon baking powder
  • 3/4 teaspoon salt
  • 1 cup (2 sticks) unsalted butter, room temperature
  • 3 ounces cream cheese, room temperature
  • 1 cup sugar
  • 1 vanilla bean, split, seeds scraped and reserved
  • 1 large egg
  • 1/2 teaspoon pure vanilla extract
Preheat oven to 350 degrees. Whisk together flour, malted-milk powder, baking powder, and salt. With an electric mixer on medium speed, beat butter and cream cheese until creamy. Mix in sugar and vanilla seeds (reserve pod for another use). Add egg and vanilla extract, and combine. Reduce speed to low. Add flour mixture and mix to combine. Spoon onto parchment-lined baking sheets, spacing them about 1 inch apart. Bake until bottom edges are golden brown, 11 to 15 minutes, rotating sheets halfway through. Transfer to wire racks to cool completely. Cookies can be stored in airtight containers at room temperature up to 1 week.

^

Sunday, November 04, 2007

Pizza Making Party at Pitfire Pizza

Last October, a fun time was had by all at a pizza making party at Pitfire Pizza Company in downtown Los Angeles. The event started with us arriving to tasty breadsticks. While we were munching on those, owner David Sandfield, gave us some history about pizza as well as his restaurant. For example, he told us how the name for the Margherita Pizza came to be.

Apparently, in 1889 chef Don Raffaele Esposito honored Queen Margarita with a special pizza topped with the colors of the Italian flag-tomato (red), basil (green) and mozzarella (white) and hence the name "Margarita" was formed. It is the 'base' pizza of any pizza shop worldwide.

David also gave us some background on Pitfire Pizza. He and his partner, Paul Hibler, run a company called Deluxe Motion Picture Catering, a catering company that caters to tv and movie sets. With their pizza, which they normally barbecue on grills, being one of their popular selling items, they finally decided to open up pizza restaurant in North Hollywood. Soon after, they opened a downtown LA location and just recently a location in Westwood.

Their pizza dough is handmade daily from a proprietary recipe. In fact, they trust just one baker to make their dough, and he has perfected the craft over the past eight years. Every batch is handmade and fired in a 750 degree ceramic oven. Their philosophy is to also use fresh local ingredients sourced from farmer's markets.

Soon after his talk, we went behind the line and David gave us more specific information about what his pizza dough is made up and it's not just flour and water. There's a definitely a lot more to it than that. Then we were given a demonstration of how to first shape the dough on a floured board into a "pancake" and stretch it out using our fingertips. Then it's to the air as we were taught to take the now flatter pizza dough and using our finger tips turn it like a wheel, at the same time, stretching it out even more to make it thinner. It's not as easy as it looks and unfortunately, I was all thumbs.

Afterwards, we were able to sauce our pizzas and add whatever toppings were calling to us. Of everyone in the group, I was the only one who wanted a white pizza. Instead of red sauce, my pizza dough had olive oil spread on it before I added the rest of the ingredients. A couple of us even got to put our pizzas in their 750 degree oven.

As part of the event, we also got to tour their downstairs kitchen/commissary. This downstairs kitchen is where all the dough and sauces are made for all three Pitfire Pizza locations. Chefs are there everyday at 5:30 am to start work. Those appliances were huge. We saw everything from their large sauce cooking pot to this one machine that once you put a handful of dough in it, it will shape it into perfectly sized balls of dough.

Eventually, we all sat down to a meal that included our pizza masterpieces, salad, dessert. What was cool was that no had the same exact pizza. Everyone really used different ingredients. There was even some pizza trading going on, which allowed some to do a nice sampling of what other ingredients people used for their pizza. Overall, it was a delicious way to spend a few hours.

To see all the pics, go to:
http://www.flickr.com/photos/la_addict/sets/72157602924411895/

Pitfire Pizza Company
108 West 2nd Street
Los Angeles, CA 90012
213-808-1200
www.pitfirepizza.com


Pitfire Pizza Company on Urbanspoon